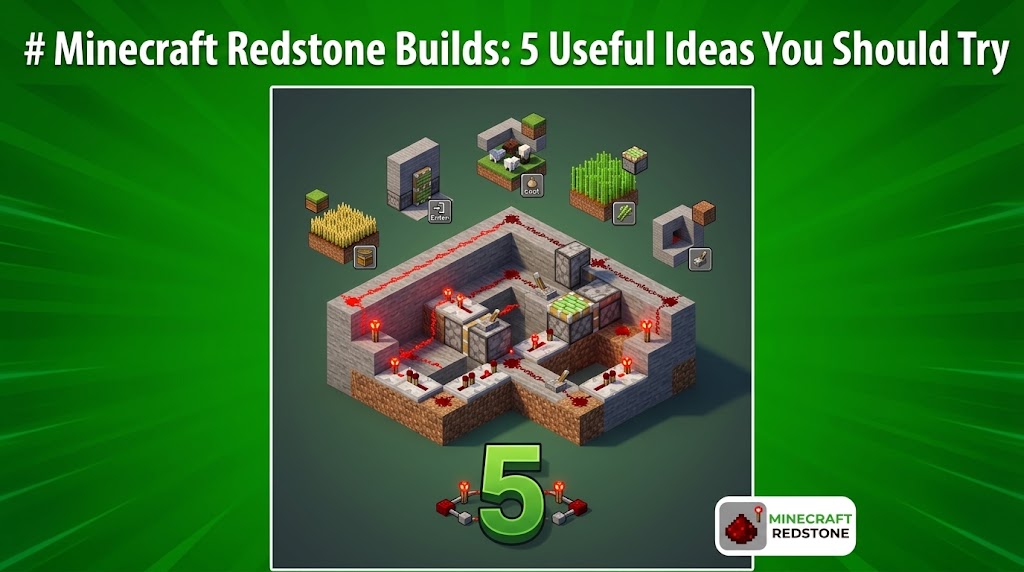
Redstone is one of the most useful mechanics in Minecraft. It lets you create machines that can automatically farm crops, organize items, open hidden doors, and perform other repetitive tasks.
You don’t need to be a Redstone expert to start building useful machines. In fact, some of the best projects can be made with relatively simple components such as pistons, observers, hoppers, comparators, repeaters, and Redstone dust.
In this guide, we’ll cover 5 useful Minecraft Redstone builds and explain how to build each one step by step.
1. Automatic Sugarcane Farm
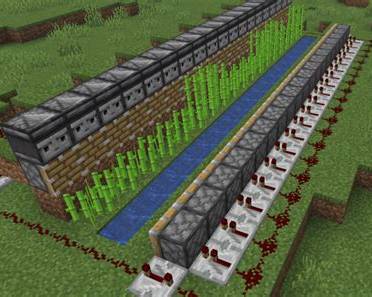
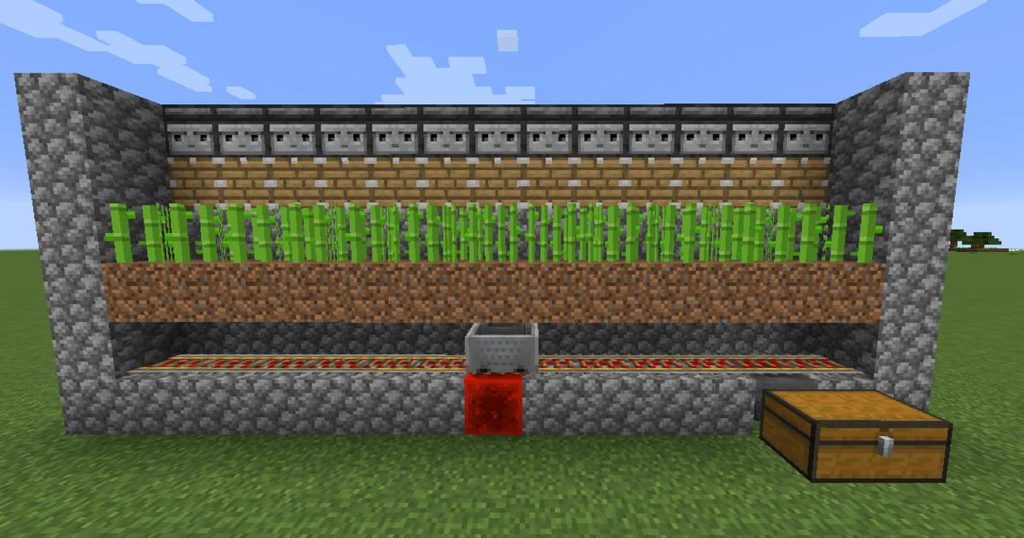
An automatic sugarcane farm is one of the best Redstone projects for a survival world. Once it is built, the farm can detect growing sugarcane and automatically harvest it with pistons.
The basic design uses observers to detect growth and pistons to break the upper part of the sugarcane. A hopper and chest can then collect the dropped sugarcane.
What You Need
For a small farm, gather:
- 1 Chest
- 1 Hopper
- 1 Water Bucket
- 1–5 Sugarcane
- 1–5 Pistons
- 1–5 Observers
- Redstone Dust
- Dirt or Sand
- Building Blocks
You can increase the size later by repeating the same setup.
How to Build It
Step 1: First, place a chest where you want the harvested sugarcane to be stored.
Step 2: Place a hopper behind the chest. Make sure the hopper is pointing directly into the chest.
Step 3: Put a row of dirt or sand blocks next to the collection area. Leave enough space beside the blocks for water.
Step 4: Place water next to the dirt or sand. Sugarcane needs to be placed next to water to grow.
Step 5: Place one sugarcane on each dirt or sand block.
Step 6: Now place a piston facing each sugarcane plant. The piston should be positioned around the second block of the sugarcane so it can break the upper growth while leaving the bottom planted.
Step 7: Place an observer above or behind the piston setup so its face watches the sugarcane’s growth.
Step 8: Connect the observer to the piston using Redstone dust. When the observer detects the required block update, it sends a signal to the piston.
Step 9: Finally, build a few blocks around the farm so the harvested sugarcane doesn’t fly away.
Once the sugarcane grows, the observer activates the piston and the upper part gets broken. The remaining plant can grow again, making the process repeat automatically.
Why It’s Useful
Sugarcane is useful for making paper and books, so an automatic farm can save you from repeatedly harvesting it manually.
2. Hidden Piston Door
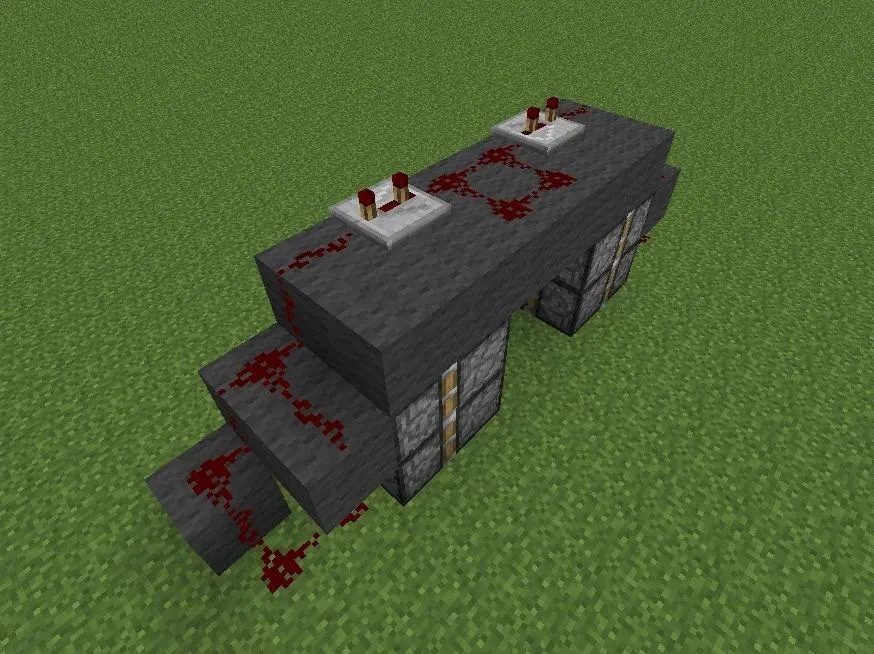
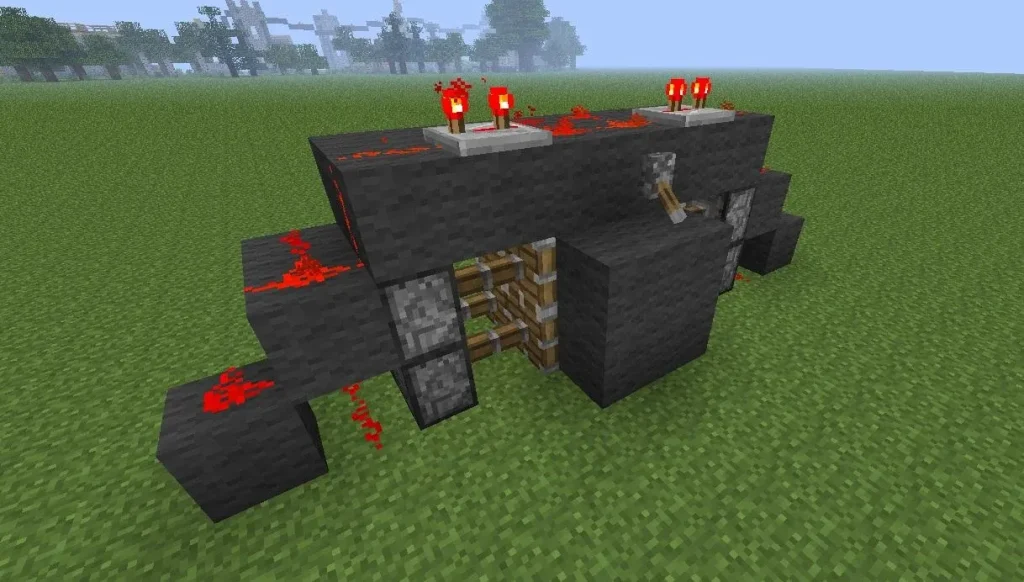
Want a secret entrance for your Minecraft base? A hidden piston door is one of the coolest beginner-to-intermediate Redstone projects.
The basic idea is simple: sticky pistons move the blocks that form the doorway, allowing the entrance to disappear into the surrounding wall.
What You Need
- Sticky Pistons
- Redstone Dust
- Redstone Repeaters
- Building Blocks
- Lever or Button
A common 2×2 design uses multiple sticky pistons, matching wall blocks, Redstone dust, and repeaters.
How to Build It
Step 1: Choose the wall where you want your secret entrance.
Step 2: Make a 2×2 opening in the wall. This will become your doorway.
Step 3: Place sticky pistons around the opening so that their piston heads face toward the blocks that will form the door.
Step 4: Place four matching blocks in the piston mechanism. These should be the same type of block as the surrounding wall.
Step 5: Build a small Redstone path behind and above the pistons.
Step 6: Place Redstone repeaters where needed to control the timing of the piston signals.
Step 7: Connect the Redstone circuit to a lever.
Step 8: Activate the lever and check whether all of the pistons move correctly.
Step 9: Once everything works, cover the mechanism with the same blocks as the surrounding wall.
The official Minecraft tutorial also recommends matching the door blocks with the surrounding wall so the entrance becomes difficult to notice when closed.
Pro Tip
Don’t decorate the area until you’ve tested the mechanism several times. If one piston isn’t moving correctly, fixing it becomes much harder after you’ve covered the Redstone.
3. Automatic Item Sorter
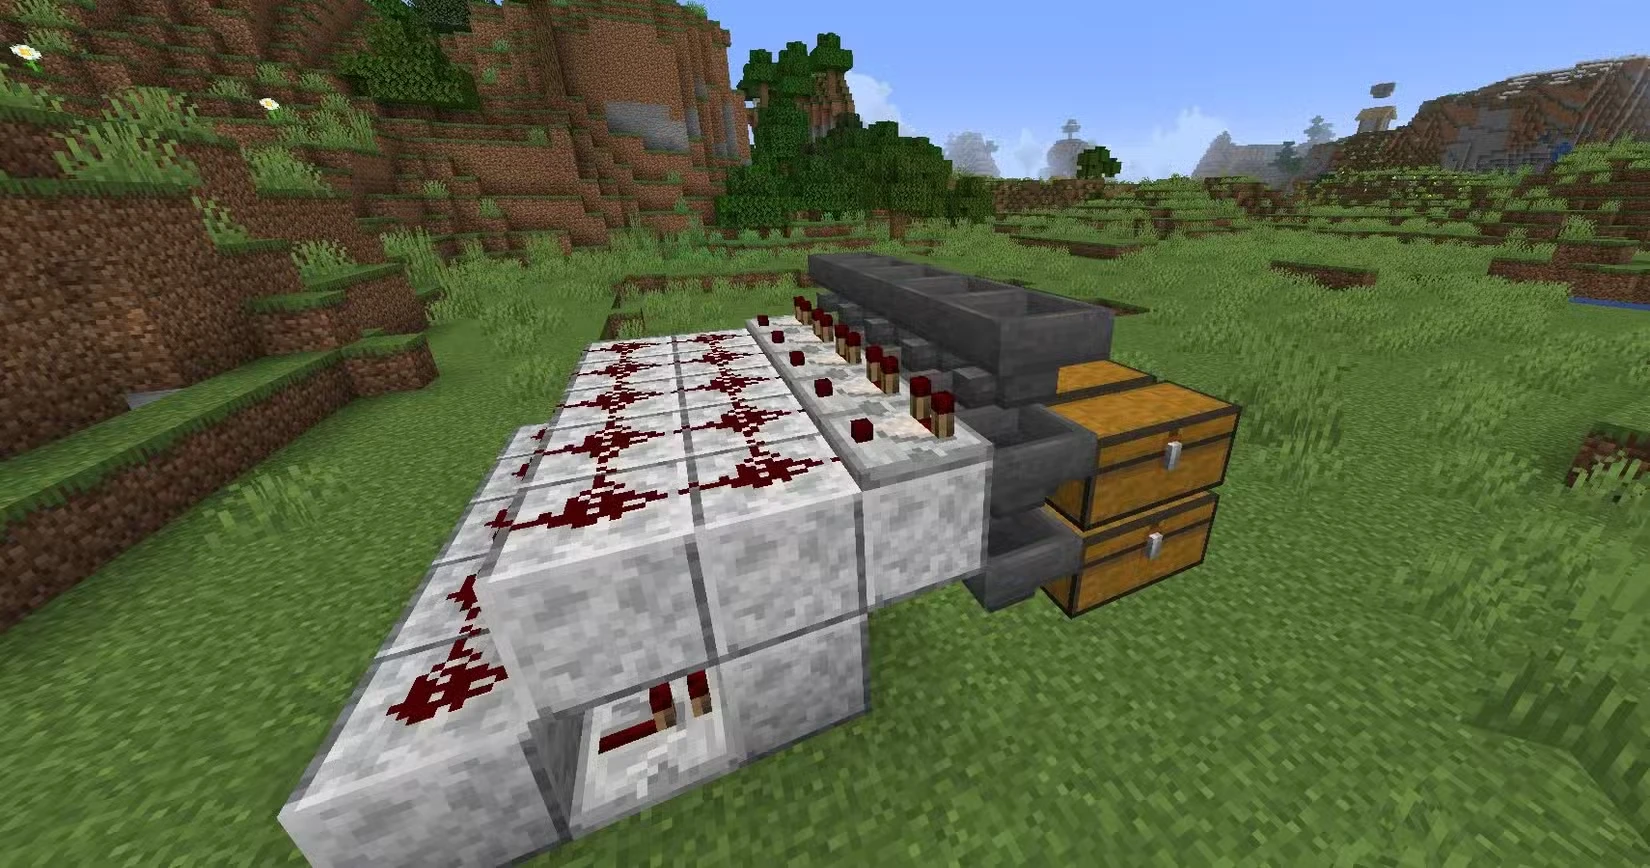
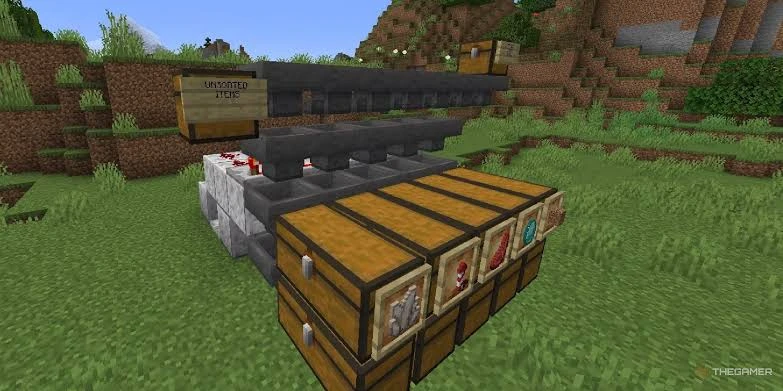
If your Minecraft storage room is full of random items, an automatic item sorter can make your life much easier.
This system uses hoppers and comparators to detect specific items and send them into the correct storage chest.
What You Need
For one basic sorting module:
- 2 Chests
- 2 Hoppers
- 1 Comparator
- 1 Repeater
- Redstone Dust
- 1 Redstone Torch
- Building Blocks
- The item you want to sort Filler items
You can create multiple modules beside each other for different items.
How to Build It
Step 1: Place a chest where you want the sorted item to be stored.
Step 2: Place a hopper above the chest and make sure it points into the chest.
Step 3: Place another hopper above the first hopper. This will act as your filter hopper.
Step 4: Place a comparator behind the filter hopper. The comparator needs to read the contents of the filter hopper.
Step 5: Build a small Redstone circuit from the comparator using Redstone dust and a repeater.
Step 6: Add a Redstone torch to the circuit so it can control the hopper.
Step 7: Open the filter hopper and place 41 units of the item you want to sort in the first slot.
Step 8: Put one filler item in each of the remaining four slots. A common design uses renamed filler items to prevent them from accidentally mixing with normal items.
Step 9: Build an input hopper line above your sorting modules.
Step 10: Drop some test items into the input line.
If everything is connected correctly, the selected item should move into its matching storage chest while unrelated items continue along the transport line.
Build More Storage
Once your first sorting module works, simply repeat the design for other items.
For example, you could have:
- Cobblestone Chest
- Iron Chest
- Coal Chest
- Redstone Chest
- Dirt Chest
- Food Chest
This makes large survival storage rooms much easier to manage.
4. Automatic Wheat Farm
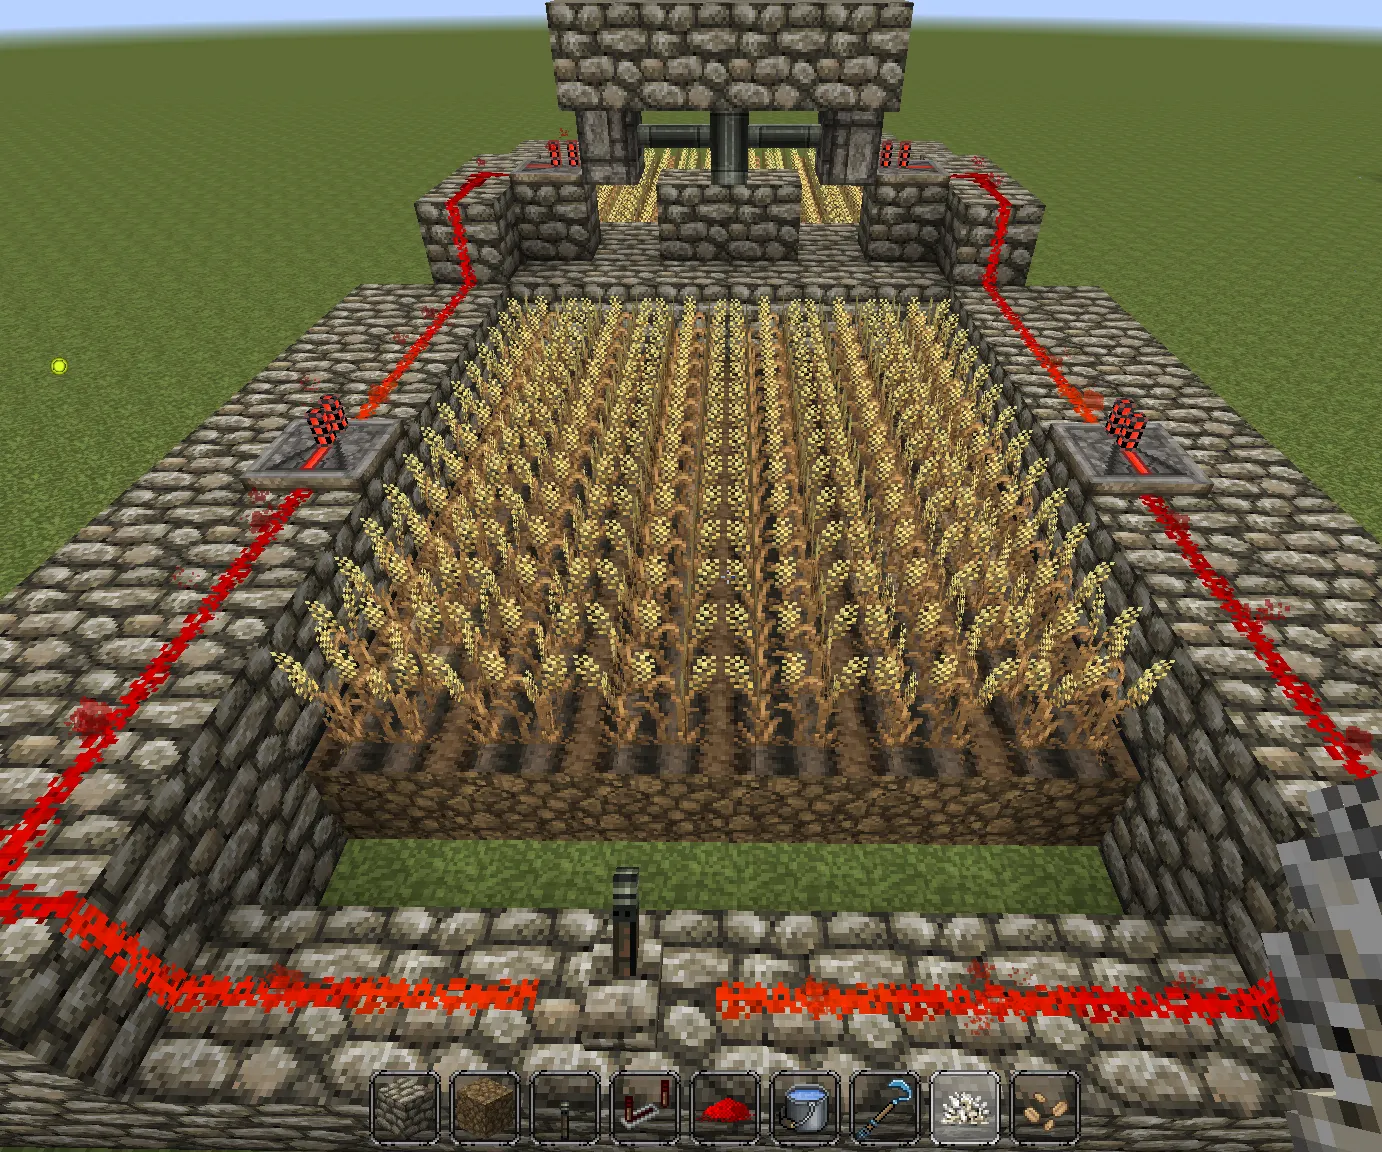
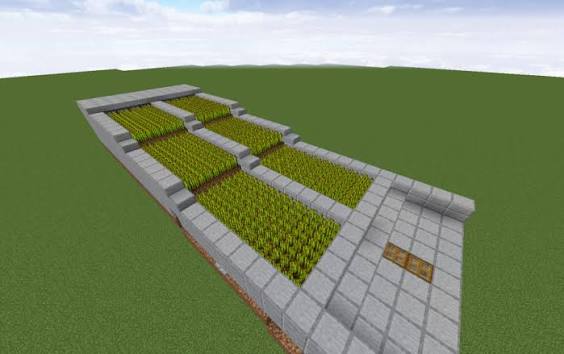
Wheat is one of the easiest crops to grow, but harvesting a large field manually can become repetitive.
A Redstone-controlled farm can use water to collect the harvested crops and move them toward a collection area.
What You Need
- Dirt
- Water
- Wheat Seeds
- Water Bucket
- Building Blocks
- Dispensers or a Redstone-controlled water mechanism
- Redstone Dust
- Redstone Repeater
- Button or Lever
- Chest
- Hopper
How to Build It
Step 1: Create a rectangular area for your wheat field.
Step 2: Place water in the center or along the side of the farmland so the crops have enough water.
Step 3: Use a hoe to turn the dirt into farmland.
Step 4: Plant wheat seeds across the farmland.
Step 5: Create a channel at the end of the field where harvested wheat can flow.
Step 6: Place your water-control mechanism at the opposite end of the field.
Step 7: Connect the mechanism to a button or lever using Redstone.
Step 8: Grow the wheat fully before activating the harvesting system.
Step 9: Activate the Redstone mechanism and allow water to flow across the field.
Step 10: Collect the wheat and seeds at the end using a hopper and chest.
One important thing to remember is that a simple water-harvesting farm doesn’t automatically replant the wheat. After harvesting, you’ll normally need to plant the seeds again. So this design automates the harvesting/collection part rather than the entire crop cycle.
5. Super Smelter
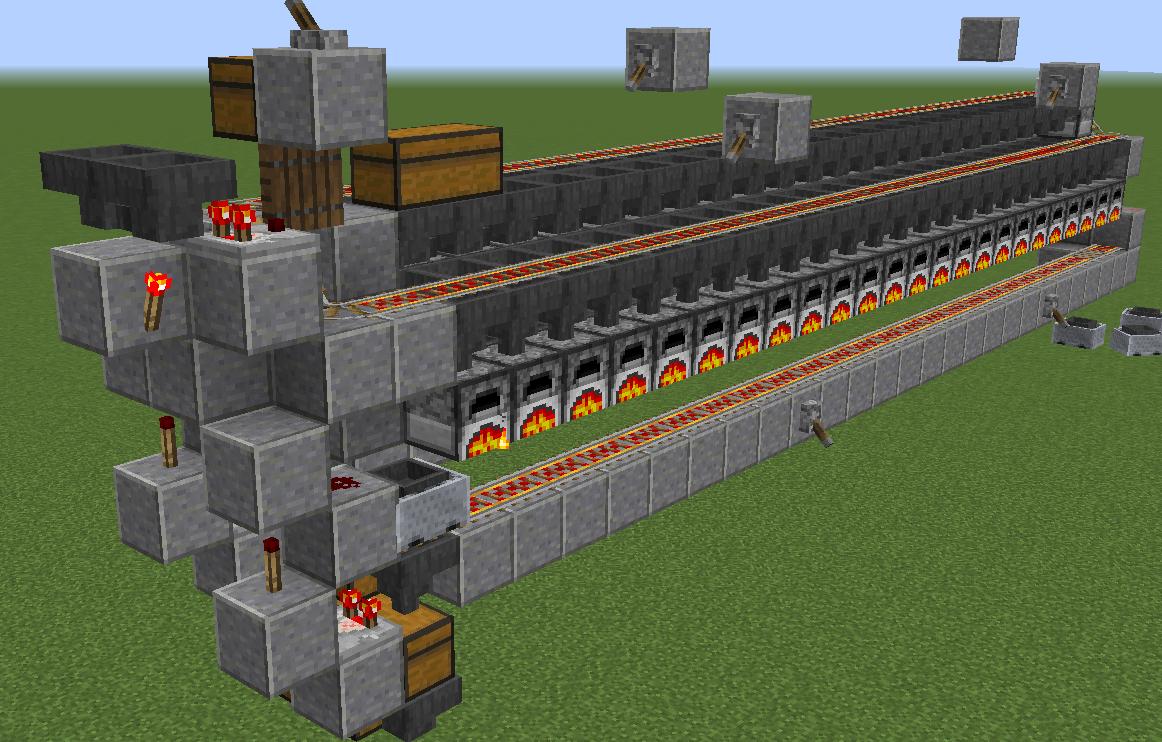
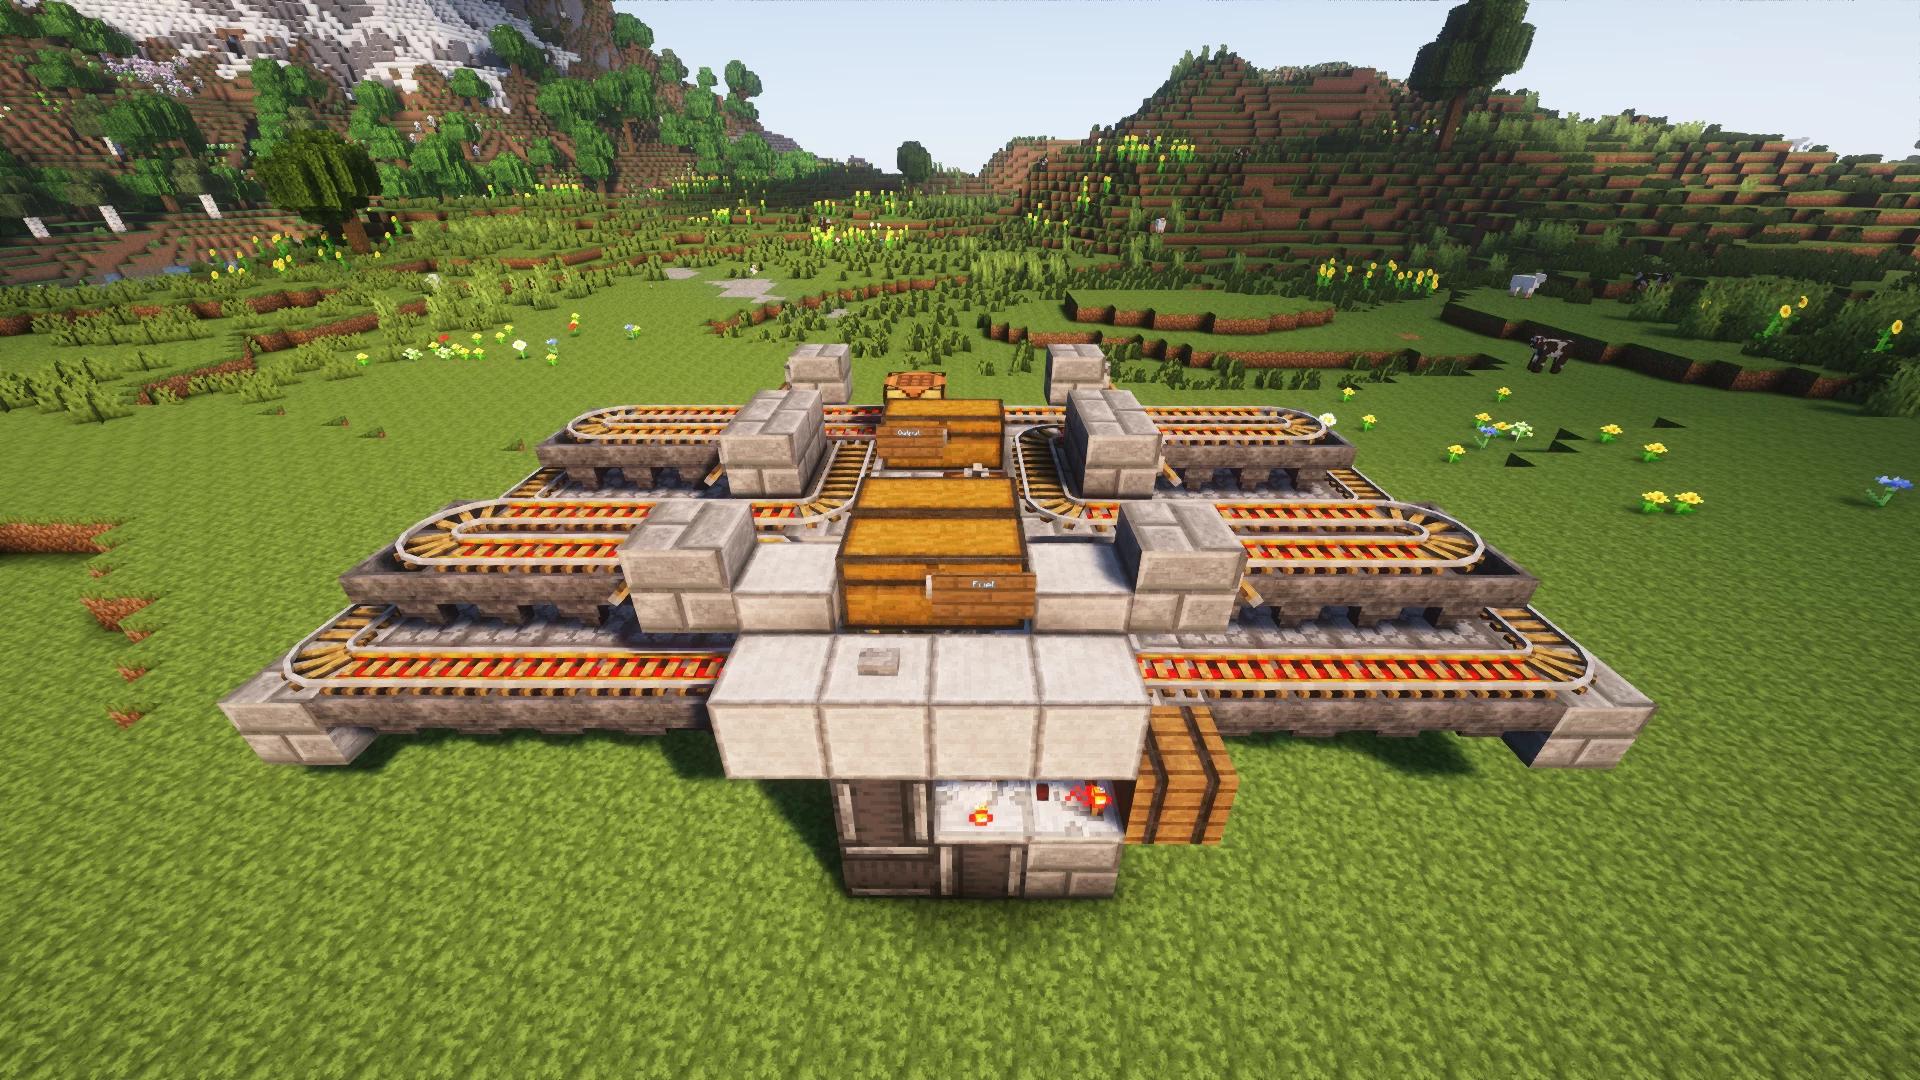
A normal furnace works perfectly fine when you only need to smelt a few items. But after a huge mining trip, waiting for everything to finish can take a lot of time.
A super smelter solves this by connecting multiple furnaces together. Hoppers can distribute fuel and materials to the furnaces, while another collection system gathers the finished items.
What You Need
The exact amount depends on the size of your smelter, but you’ll generally need:
- Multiple Furnaces
- Hoppers
- Chests
- Building Blocks
- Rails or minecarts for larger designs
- Redstone Components
How to Build It
Step 1: Decide how many furnaces you want. For your first build, start with around 4–8 furnaces instead of building a huge array.
Step 2: Place your furnaces in a straight horizontal row.
Step 3: Place hoppers above the furnaces. These will carry the materials that need to be smelted.
Step 4: Place another row of hoppers behind or below the furnaces for fuel.
Step 5: Connect the input hoppers to a chest where you can place your raw materials.
Step 6: Create another chest for fuel such as coal or charcoal.
Step 7: Add hoppers between the fuel chest and your furnace fuel slots.
Step 8: Place collection hoppers underneath the furnaces.
Step 9: Connect the collection hoppers to an output chest.
Step 10: Put some ore or another smeltable item into the input chest and fuel into the fuel chest.
The materials should be distributed among the furnaces and the finished products should eventually reach the output chest.
Why Build a Super Smelter?
The biggest advantage is speed. Instead of waiting for one furnace to finish each item one after another, several furnaces can work at the same time.
You can also expand the system later by adding more furnaces and extending the hopper lines.
Which Redstone Build Should You Try First?
If you’re new to Redstone, don’t immediately start with a huge automated storage system. Start small and learn how each component behaves.
| Build | Difficulty | Best For |
|---|---|---|
| Automatic Sugarcane Farm | ⭐⭐ | Beginners |
| Hidden Piston Door | ⭐⭐⭐ | Secret Bases |
| Item Sorter | ⭐⭐⭐⭐ | Storage Rooms |
| Wheat Farm | ⭐⭐ | Farming |
| Super Smelter | ⭐⭐⭐ | Mining & Smelting |
Final Words
Redstone doesn’t have to be complicated. Once you understand how pistons, observers, hoppers, comparators, repeaters, and Redstone dust work together, you can build surprisingly useful machines.
If you’re completely new, start with the automatic sugarcane farm. After that, try the hidden piston door and super smelter. Once you’re comfortable with Redstone signals, move on to the item sorter.
The best thing about these builds is that you can start with a small version and expand them later. Your first Redstone machine doesn’t need to be massive — even a simple automatic farm can save a lot of repetitive work in a survival world. Now Read: Minecraft APK Download